Guide:Getting Started/User Interface
User Interface[edit]
HUD[edit]
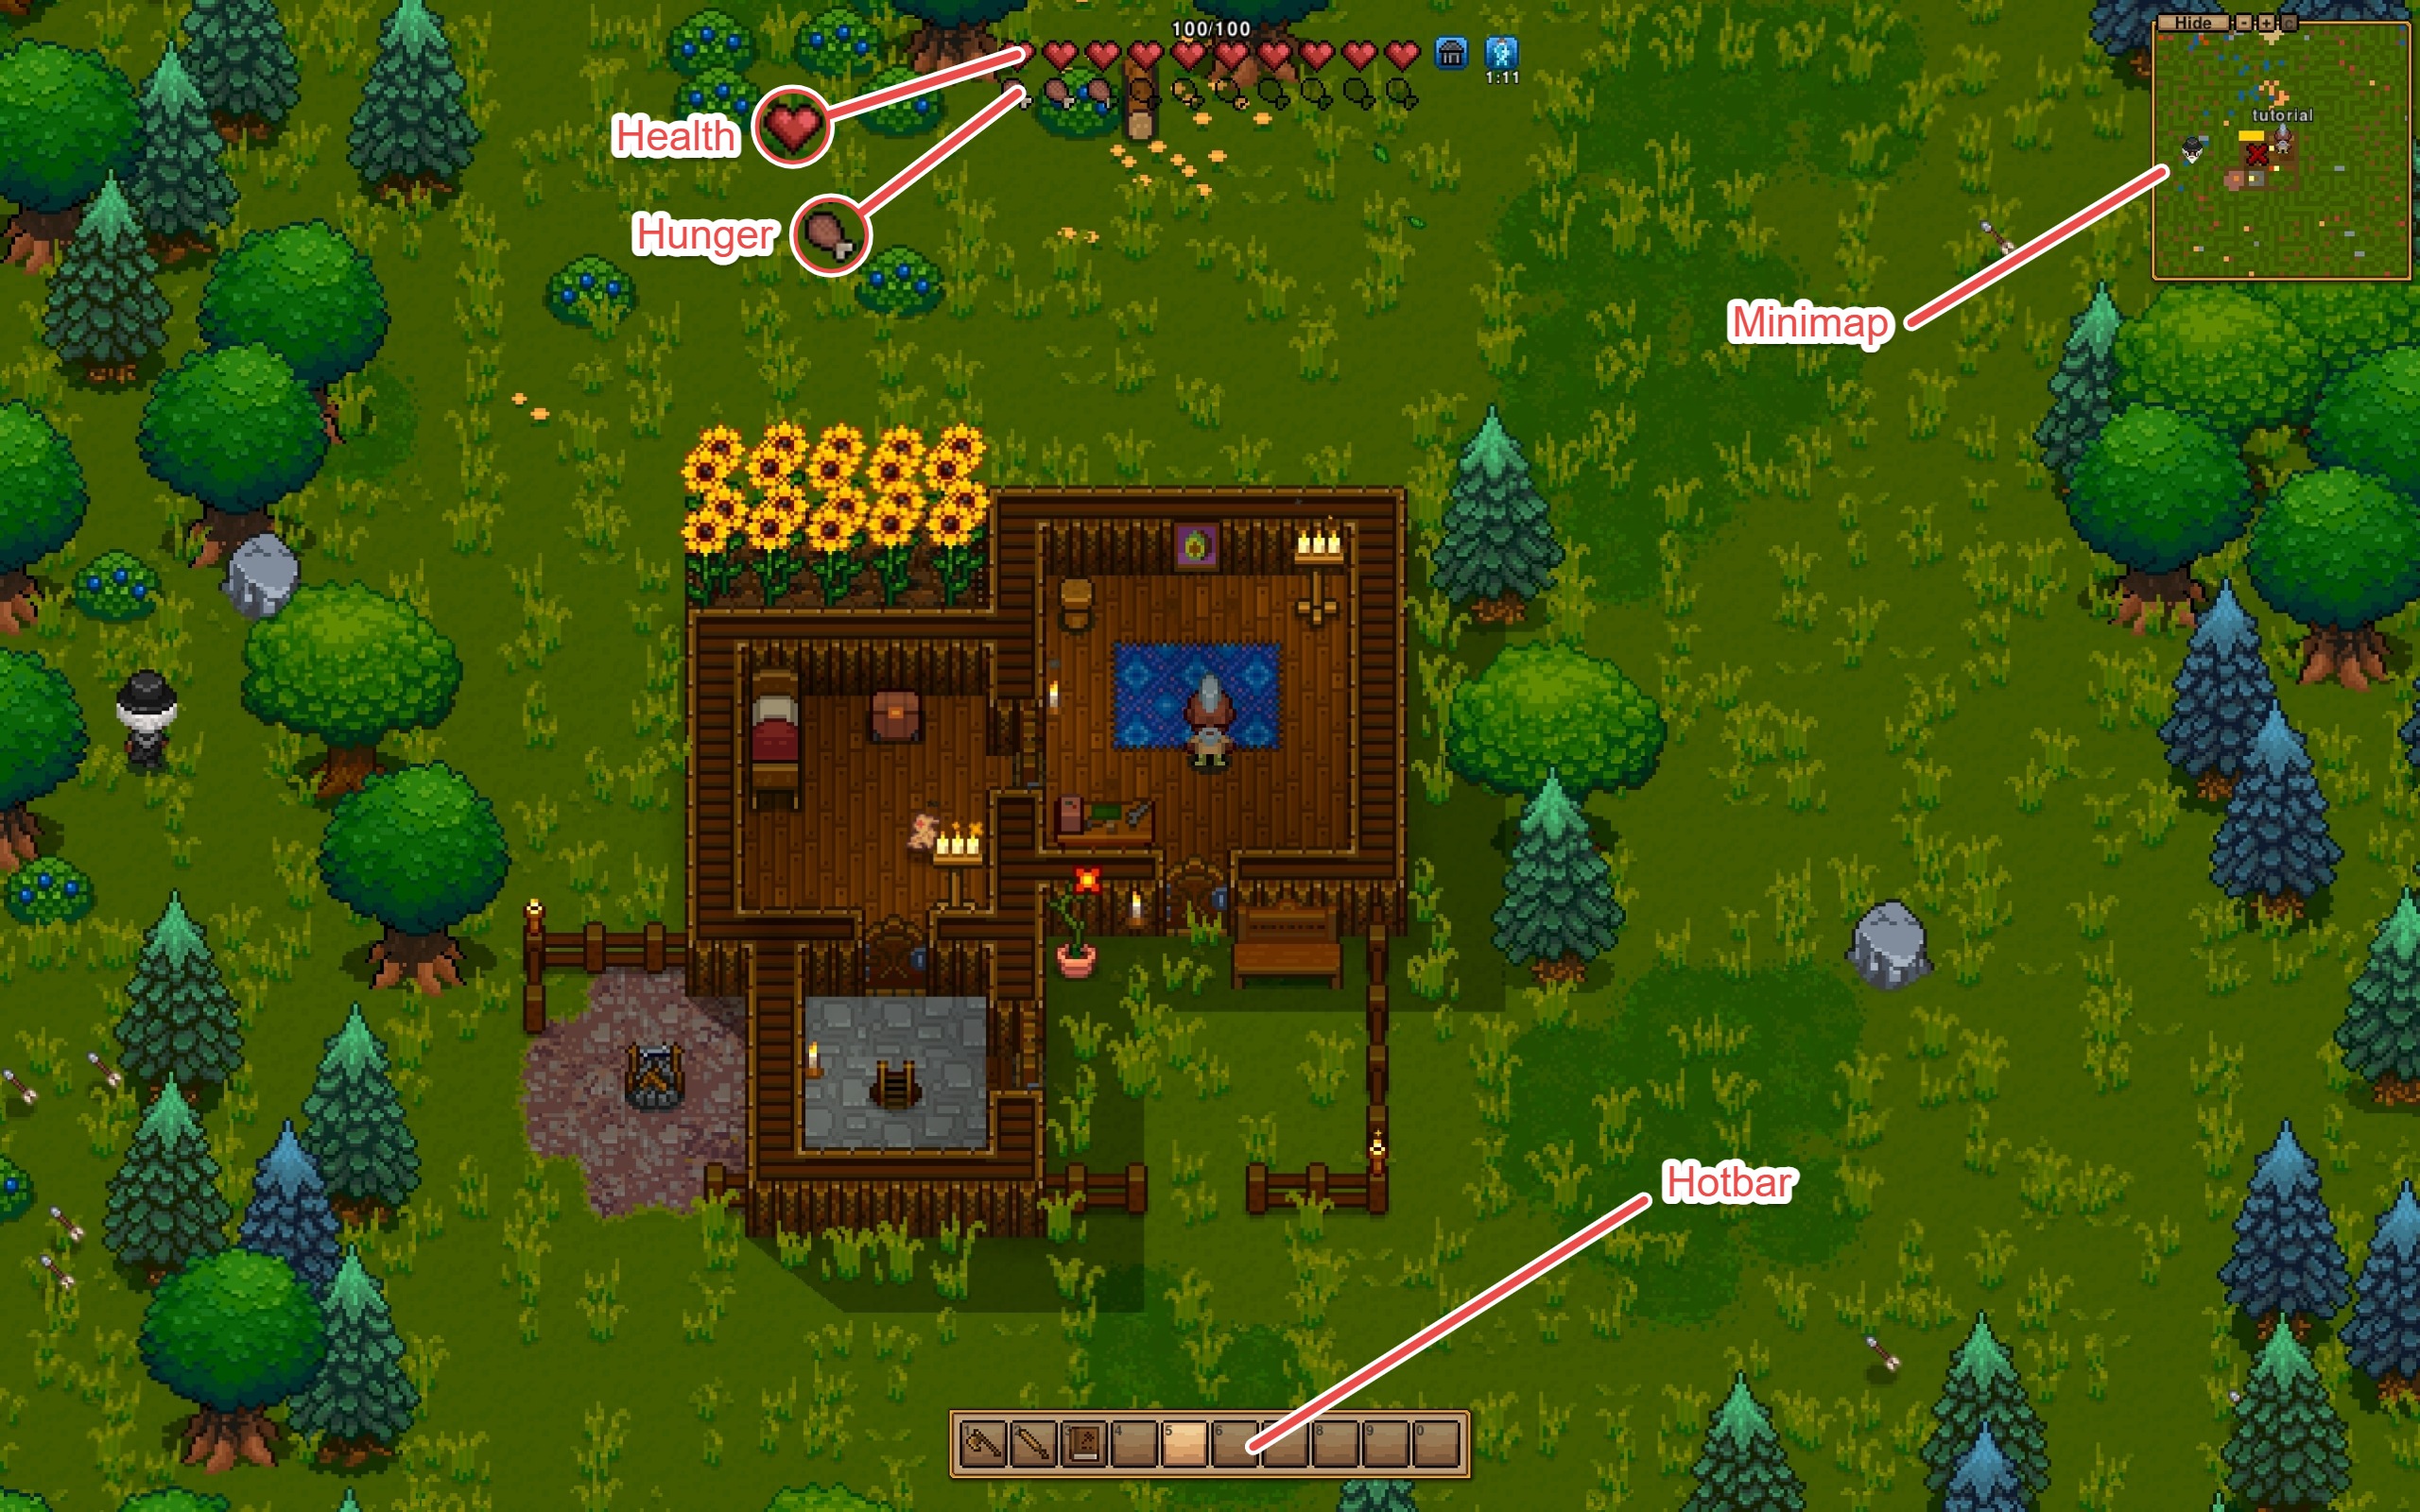
Health[edit]
💡 Elder's Tip: This is your source of life and if it reaches 0 you will die. it slowly regenerates over time if not Hungry or Starving more information on this is Here
Resilience[edit]
💡 Elder's Tip: You wont have access to resilience right away but im going to explain it here so you can use it when it becomes relevant in the guide
-
Resilience acts as a kind of extra health bar which you gain by attacking enemies with certain weapons and it decreases over time. you can see it grapically by the gold shield icon on the screen but you can also see the number of how much you have right next to your health number. it looks like this:

you wont take damage to your health until your resilience is at 0 and after that point you will take damage as normal
Hunger[edit]
💡 Elder's Tip: This is your hunger bar. this is a feature that can be turned off but is on by default. You can find out how to turn it off at More World Settings.
if it is on you will need to eat to survive or you will start to be Hungry which stops health regeneration and eventually you will become Starving and will take damage to your health every few seconds
Minimap[edit]
💡 Elder's Tip: This is your viewport into the world and helps you find things at a glance such as NPC locations.
There is a button to hide the Minimap if you wish to do so and a button to zoom in and out if you want it closer or further away
Hotbar[edit]
💡 Elder's Tip: This is where your most frequently used items will go. this will likely be Weapons right at the start but as time goes on you will get more options. you can press E to open your inventory you can lock the hotbar so that picked up items wont get put on the hotbar and will instead be put into the main inventory but we will get into how that works below
Main Inventory[edit]

Here I will go through the different sections of the Main inventory and explain what they are by number as there are a lot of buttons and different sections. you can find them on your own inventory quite easily
Trinket Slots[edit]
Cosmetic Slots[edit]
Ability Trinket Slot[edit]
is your ability Trinket slot. these are trinkets that allow the player to perform an action using the space bar. A good example of this are the
Equipment Slots[edit]
are your Equipment slots. you can put head gear chest gear and footwear into the respective slots to change your stats and sometimes there are other abilities attached to the equipment
Mount Slot[edit]
Quick Inventory Management Pane[edit]
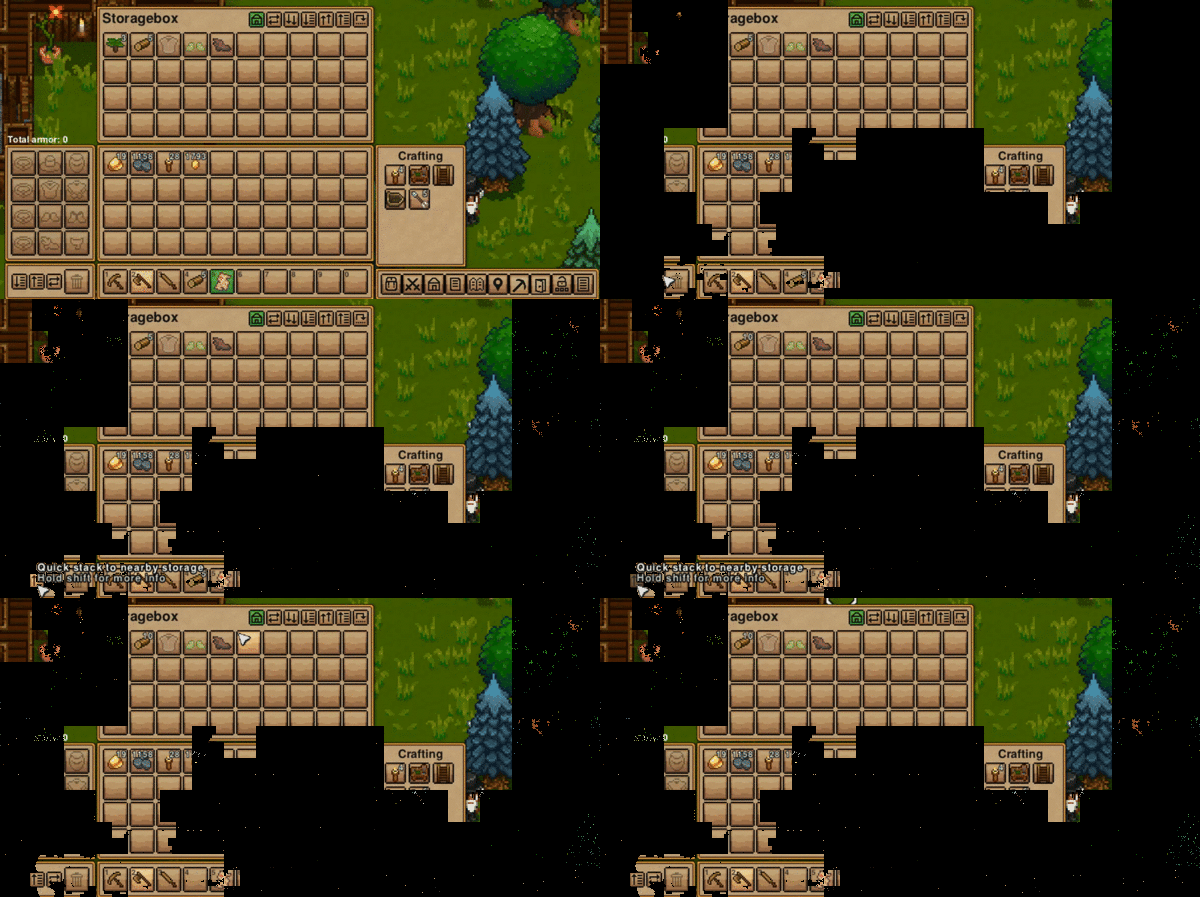
💡 Elder's Tip: This is your quick inventory management pane. I will be visually going through what each of these options does
Restock from nearby storage[edit]
💡 Elder's Tip: As shown. clicking this button will refill your inventory slots from nearby chests. it will only pull out items from the chest that are already in your inventory slots
Quick stack to nearby storage[edit]
💡 Elder's Tip: Does the opposite of Restock from storage except this time it will only store items that already exist in the chest
Sort Inventory[edit]
💡 Elder's Tip: This option will quickly sort your inventory by the category of the item
Locking items to protect them[edit]
Item Trash Can[edit]
💡 Elder's Tip: Items dragged to the trash can will be deleted once another item is placed on top of it so you still have time to take the item back out in cases of accident
Misc Settings Pane[edit]
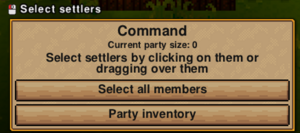
Open adventure party[edit]
💡 Elder's Tip: This opens the adventure party menu that you can use later to interact with settlers you bring on your adventure with you. The default hotkey to open this is X
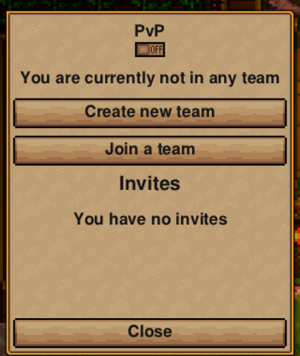
Teams and PvP[edit]
💡 Elder's Tip: Teams allow you to group together with other players and share progress as well as settlement access later on.
Open settlement Settings[edit]
💡 Elder's Tip: Once you have put down a ![]() Settlement Flag you can access this menu to control things within the settlement. we will deal with this later. the default hotkey for this menu is C
Settlement Flag you can access this menu to control things within the settlement. we will deal with this later. the default hotkey for this menu is C
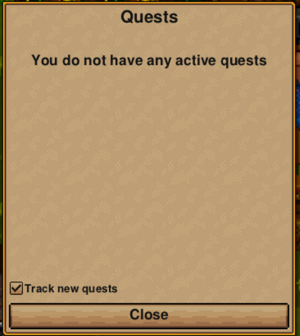
Quests[edit]
💡 Elder's Tip: Once you have placed a ![]() Settlement Flag you will be able to accept quests from the Elder who will advise you on the intended Progression
Settlement Flag you will be able to accept quests from the Elder who will advise you on the intended Progression
Adventure Journal[edit]
hotkey J
Show world map[edit]
hotkey M
Toggle smart mining[edit]
hotkey LCTRL
